Create and edit profiles
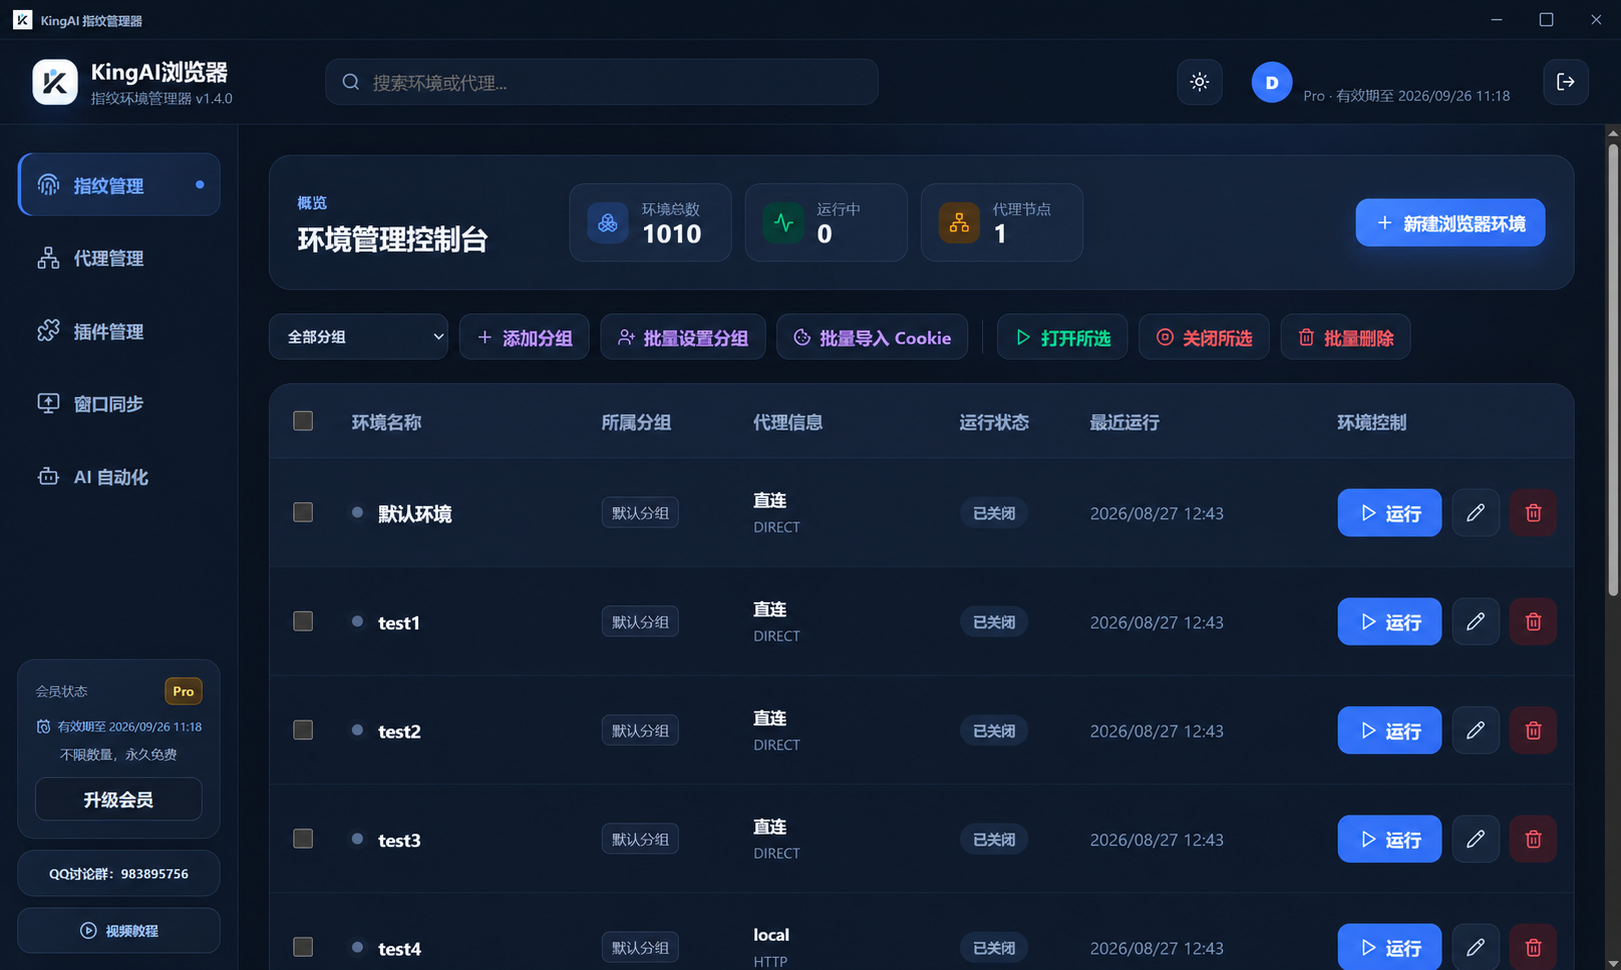
Create a profile in KingAIManager, configure its identity, hardware, and region, then launch an isolated browser. Each profile has separate user data and cookies. Everyday profile management does not limit profile counts or launches.
01 · Create an isolated profile
- 01
Open KingAIManager, select Fingerprint management, and choose New browser profile.
- 02
Enter a unique name, choose a group and the number of profiles to create. Batch-created profiles receive numbered names.
- 03
Find the new profile in the list and click Run when ready.
02 · Edit or randomize the fingerprint
- 01
Open the profile’s Settings.
- 02
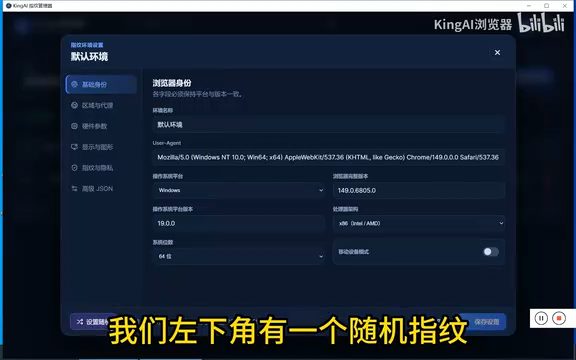
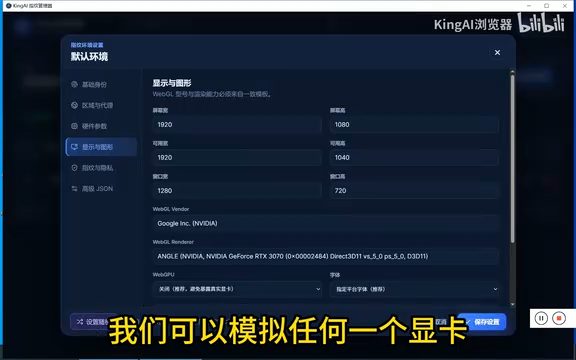
Review identity, region and proxy, hardware, display and graphics, and fingerprint/privacy settings. Save your changes.
- 03
Use Set random to generate new identity, hardware, and noise keys. Enable Automatically update fingerprint on every launch only if you want a new fingerprint each time.
- 04
Close the running profile and launch it again to apply the new settings.
Screenshots show an earlier version. The current version uses registered real hardware templates for GPU information. Noise keys affect pixel readback noise, not GPU capability values.
03 · Align the proxy, region, and time zone
In Region and proxy, select a saved proxy. Optionally enable automatic proxy-region synchronization, query the exit time zone, and save. Synchronization is off by default; when enabled, launch progress shows the region and time-zone queries.
04 · Verify the running profile
- 01
Save, close any existing window for that profile, and run it again from the manager.
- 02
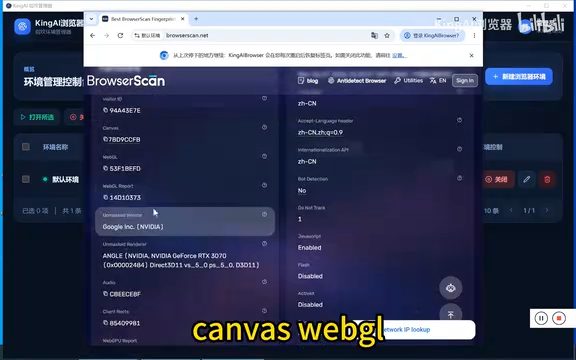
Open a fingerprint-checking page and review OS, UA, time zone, GPU, Canvas, WebGL, and Audio information.
- 03
For multiple profiles, use different names and verify their data, proxies, and noise settings—not just GPU names.

Common questions
- Why did my changes not apply?
- Settings are applied at launch. Save them, close the existing profile browser, and run it again from the manager.
- How do I keep a stable identity?
- Keep the current settings and leave automatic fingerprint updates disabled. Use Set random explicitly when you want a new identity.
- Are all features free?
- Profile management and everyday launches are free. Window sync, Skill recording, humanize, and MCP concurrency depend on your current membership capabilities.
Based on the author’s Bilibili product walkthrough ↗. Original screenshots are preserved and may show Chinese interface labels.
Free fingerprint browser walkthrough for Windows
Click play to watch here. The video is narrated in Chinese.
If the player cannot load, open the video on Bilibili ↗
Free fingerprint browser walkthrough for macOS
Click play to watch here. The video is narrated in Chinese.
If the player cannot load, open the video on Bilibili ↗